Showing posts with label Crafts. Show all posts

Friday, May 1, 2015

DIY Car Vent Air Freshener - Frugally Blonde


I just ran across an awesome little trick I am definitly going to be doing!

Here it the tip.  And thanks bunches over at Frugally Blonde website.

Head on over to:

DIY Car Vent Air Freshener - Frugally Blonde

Thursday, July 25, 2013

Adding a little Bling always helps.

Over the past couple of years I have fell in love with adding some 
tiny rhinestones onto even the simpliest of t-shirts.

No matter how cheap the shirt - a little bling here and there 
really brightens it up and makes it much more personalized.  

Here are a few pics of a couple of shirts I added stones to for Haylee.
She is always so excited to see them when they are done. 

It's so hard to get a good close up but here goes.


I used a plain, simple t-shirt

Before stones:

After adding stones:

In person, it makes such a huge adorable difference to spend just a few
minutes on adding these stones to just about anything.


These are the little iron on rhinestones I purchased at 
Walmart craft section.

Directions that I used for this are:

* Piece of a box cut to size to fit inside of tshirt
* Rhinestones
* Lightweight scrap of fabric
* Tweezers
* Iron

I have a piece of a box that I have cut for placement inside 
of the shirt between the front and back of the shirt.

Since the stones are so small, I use tweezers to place in just
a few key places, trying here and there until I think they
are just right.  Not to few - not too many.  

Then cover with a lightweight piece of scrap material and press 
with a hot iron (I turn off the steam feature)


Slowly remove cover cloth and let cool.

After the item has a bit of time to cool off, I turn the item inside out 
and pull over the end of the ironing board and press the back side of the stones.  
Just a bit extra to make sure they have adheared enough.
I usually wait a couple of days before laundering the item.
So far I have had very few ever come off and some have been 
worn, washed and dried many times.

Here is another simple shirt I got at Walmart that I 
added a bit of bling to.  
I love this color of green.


** Caution:  it's addicting!  lol!

Have fun adding more bling to your world too.  
Don't know if you could ever truly have "too much" bling.  :)


Tuesday, April 9, 2013

Sweet tiny yarn butterflies!!!

Oh what an adorable simple little craft for weaving.  
I think Haylee will love this craftie and we will put a small 
magnet on the backside to hang on fridge, etc.  :) 
- Thanks to Homemade at my place.  


Link is:

Tuesday, January 3, 2012

Creating a work/play/craft room

My darlin' hubby has been working on helping make a room of my own as a computer, crafty, office, couponing, playin', quiet time-getaway and create room.

I have never had all my crafty items all in one place, usually tucked here and there all over the house.  From sewing machine and accessories, in one room, to painting and accessories, scattered here and there along with all the little craft accessories to do with Haylee.  

Even added my computer and files to call it a bit of an office.  (So I could say I was "working" not playing)  lol!!

We even added a little work area for Haylee to spend time in here coloring, lil crafting projects, etc.  So much for the quiet part of this.  lol!!  

Well, I have almost got all of it worked out and now trying to organize and come up with some touches of color here and there.  

I keep leaning toward turquoise - that is after figuring out the difference between turquoise and teal.  Very close - yet very different.  If not careful, I keep leaning to teal then correct myself.  :P

I have had a heck of a time coming up with several things to try to add to my new room.  One of them is flowers.  Can't seem to find any type of turquoise flower that might work.
So after my frustration, a light came on  - Ding!!!  

Paint some flowers.  So off to Wal-mart to get simple white flowers and some turquoise craft paint.  

Here are a few of the pics I took of the process.  Actually had a blast making them.  May try my own colors from now on instead of the so called not perfect - perfect manufactured ones that never quite work.  :P

First step - take the flower apart

I mixed just a little water to the paint so it would spread easier

Start in center and apply pretty thick.  Then gradually pull outward with your brush
as far as you want it to go.  

I brought paint out almost all the way to the ends on the under large layer of the flower
Don't reload brush with more paint, just drag from center - outwards.

The top large layer of flower, I didn't bring paint out as far so tips would be more white.
Repeated the same thing with the very center of petals of flower - leaving tips white to accent it.
Now the hard part - wait for it to dry a little bit.  

Then just put petals back onto center stem and replace onto sticks of 
the original bunch of stems and leaves and WA - LA.  

Original flowers just as nature intended.  None exactly precise, but
perfect in it's own way.  :)


Saturday, December 31, 2011

More great blog ideas for kids

Here is some Fabulous ideas I found at frugalfamilyfunblog.com
Can't wait to try them!

Top 11 Posts of 2011

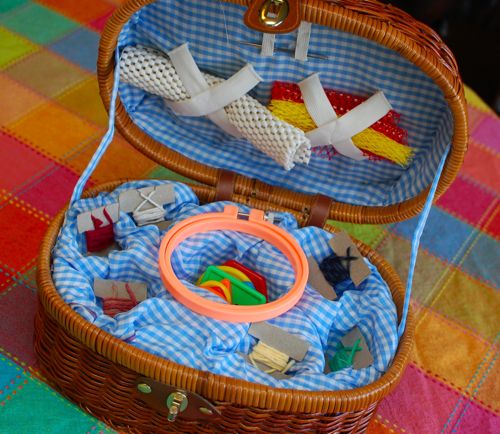
11. First Sewing Basket — I can’t even begin to explain to you how HAPPY Clara was to have a sewing kit of her very own! She still uses this little kit at least a couple of times a week — a huge hit!!
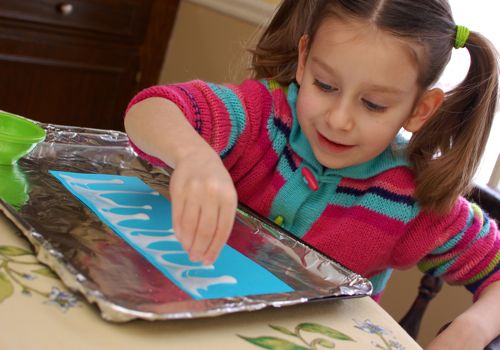
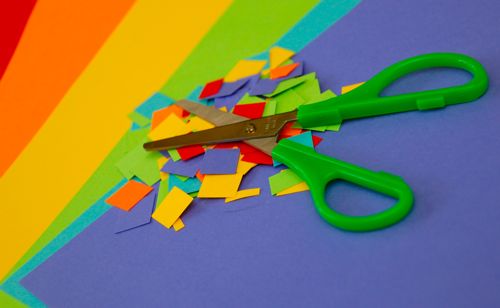
10. Easy Icicle Craft – Often the simplest projects are the best ones, and this one is SUPER simple!


9. Money Saving Tips for Teachers — We HEART teachers!! Here I’ve listed some of our best money-saving tips for the classroom all in one post.


8. How to Make Your Own Sunshine — Because everyone could use a little sunshine!


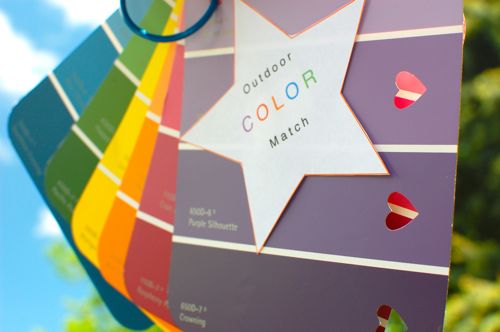
7. Outdoor Color Match — Very quick, easy, and FUN way to foster a love of nature.


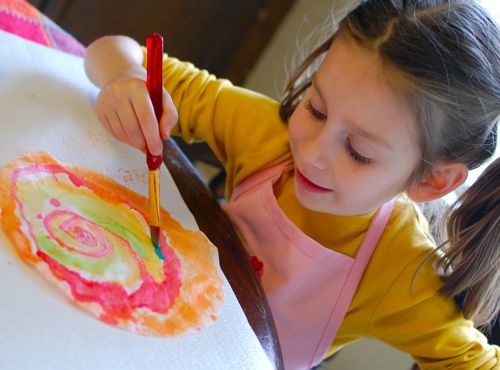
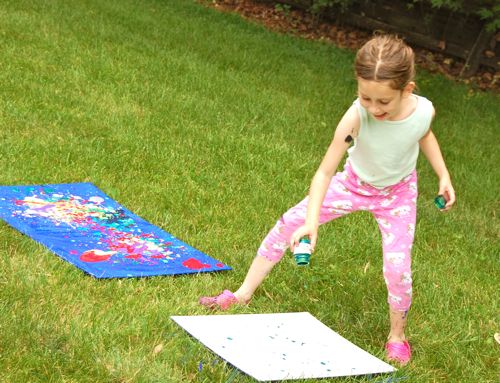
6. Why Messy Art Is Worth It — We do plenty of messy art around here, but this is the post that best explains why messy art is well-worth the mess.


5. 10 Rainy Day Activities for Kids — Some of the ways we spend rainy days.


4. 10 Things You Can Make From Cereal Boxes — A big thank you to Yelena for contributing to our Pinterest board for this one!


3. Newspaper Play Structures — Build and re-build! One of Emily’s favorite posts!!


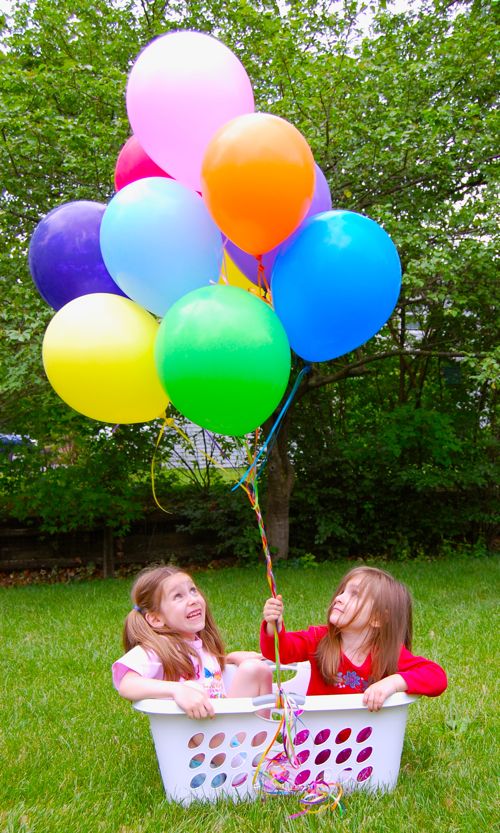
2. Hot Air Balloon Ride – One day, I asked Clara if there was anything else we needed to get at the store. Her answer? “Balloons! We are ALL OUT of balloons!” She didn’t have to twist my arm.


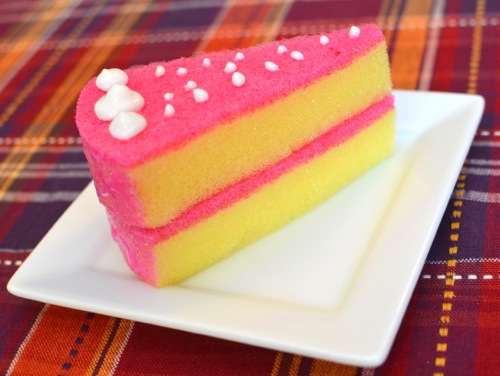
1. Pretend Sweets Made With Sponges — Inspired by a trip to the dollar store, Emily and I set out to make plenty of sweet treats for pretend play using… sponges!

Wishing you and your family a very healthy and happy New Year!!!!!